Overview
You may have seen this project floating around the Internet before, and maybe even some guides for how to make one. A Magic Mirror is basically an LED monitor behind a two-way mirror that displays some text or images. It sounds pretty trivial, but the end result is actually really cool. Check it out:

As long as it's connected to the Internet, you can display just about anything on the mirror that you want (within reason). With a little Internet-of-Things magic, you can even incorporate sensors and buttons for interactive abilities. This blog post will largely be a revision of this tutorial on how to create a magic mirror. I used Pierce's guide while creating my mirror, but I noticed that some of his code is outdated and it's much easier to use the MagicMirror open source software for this project.
The Hardware
NOTE: I've made a list on Amazon of some of the items that you will/may need for this project, primarily with the exception of the two-way mirror and woodworking supplies. You can find a link to a website for the two-way mirror below.
Raspberry Pi
In order to run the MagicMirror software, you'll need a Raspberry Pi. I recommend using the Raspberry Pi 3. I ordered this product from Amazon, which comes with a convenient case for the Pi, a power cable, and two heat sinks. Additionally, you'll need a micro-SD card pre-loaded with NOOBS, an automated operating system installer which installs Raspbian, the most popular operating system for the Raspberry Pi. You'll also need a short HDMI cable to connect the Pi to your monitor.
Display
Speaking of the monitor, you'll also need one of those. The choice of monitor is really up to you, but I recommend an LED monitor because that provides the best quality light to shine through the mirror. Something else to keep in mind when choosing your monitor is the location of the power and HDMI ports. On many monitors, these ports are located on the side, which will eventually be covered up by the wooden frame of your mirror. This is obviously undesirable. I ended up using the monitor recommended by Pierce, a BenQ GL2760H 27 inch monitor. An optional step (though I recommend doing it) is to remove the plastic bezel from your monitor to make it slimmer and easier to work with. Here is a great video tutorial on how to accomplish this.
Some Extra Electronics
As the monitor and Raspberry Pi both have separate power cables, you may want to order a power splitter. As your magic mirror hangs on the wall and needs plugged into an outlet, I also recommend getting an extension cord.
Two-Way Mirror
The mirror is a sheet of two-way acrylic plastic. You can read up on how two-way mirrors work here, but that's outside the scope of this tutorial. All you need to know is that our two-way mirror will act like glass where light shines through and like a mirror where light does not shine through. There are many companies that sell custom acrylic two-way sheets online, but again I used the site recommended by Pierce. You can find that here. Please note that you should try to order the mirror as close to the size of your monitor as possible because it's a pretty big pain (though not impossible) to cut it.
Woodworking Supplies
For the frame of the mirror, I used some two-by-fours that I had laying around and some wooden trim I bought at the local hardware store. You'll also likely need some screws, bread nails, wood glue, and wood filler. You can pick all this stuff up at the hardware store. When using wood glue, it's recommended that you use clamps to hold the pieces together while they dry. http://www.harborfreight.com/1-inch-x-15-ft-ratcheting-band-clamp-66220.html here: This product was absolutely perfect for this job.
The Software
The initial setup of the Raspberry Pi is fairly straightforward. I recommend using this short guide. Once you have Raspbian installed on your Raspberry Pi, you're ready to start installing the MagicMirror software. Please note that from here on out, I will assume that you have some idea of how to program, execute Linux commands, and edit files from the terminal. If you don't know how to do these things, you're going to have a hard time with the rest of this project, simple as it might be.
There is already a guide for installing and setting up the MagicMirror software. Explaining each step within this blog post would be utterly redundant and a complete waste of my time. For a thorough and easy guide for installing and setting up MagicMirror on your Raspberry Pi, see this page. That should successfully get you started in using your Magic Mirror!
As open source software, MagicMirror is always being updated and worked on. The community is really great and there are lots of ideas out there. New modules are added all the time, and new modules allow you to do all kinds of cool stuff with your mirror. https://github.com/MichMich/MagicMirror Here is the source code and documentation for MagicMirror, feel free to read through it and see the power of the magic mirror for yourself.
Putting Things Together
Disclaimer: I am a software developer, not a handyman. For the construction of the frame, I did the best I could, but I'm sure I ignored some best practices along the way. I'll outline the basic steps I took, but feel very free to modify my approach to your liking. There are two real pieces of the frame: the supportive backing that hides the hardware behind the mirror, and the actual frame that sits around the edges of the mirror and is attached to the back boards.
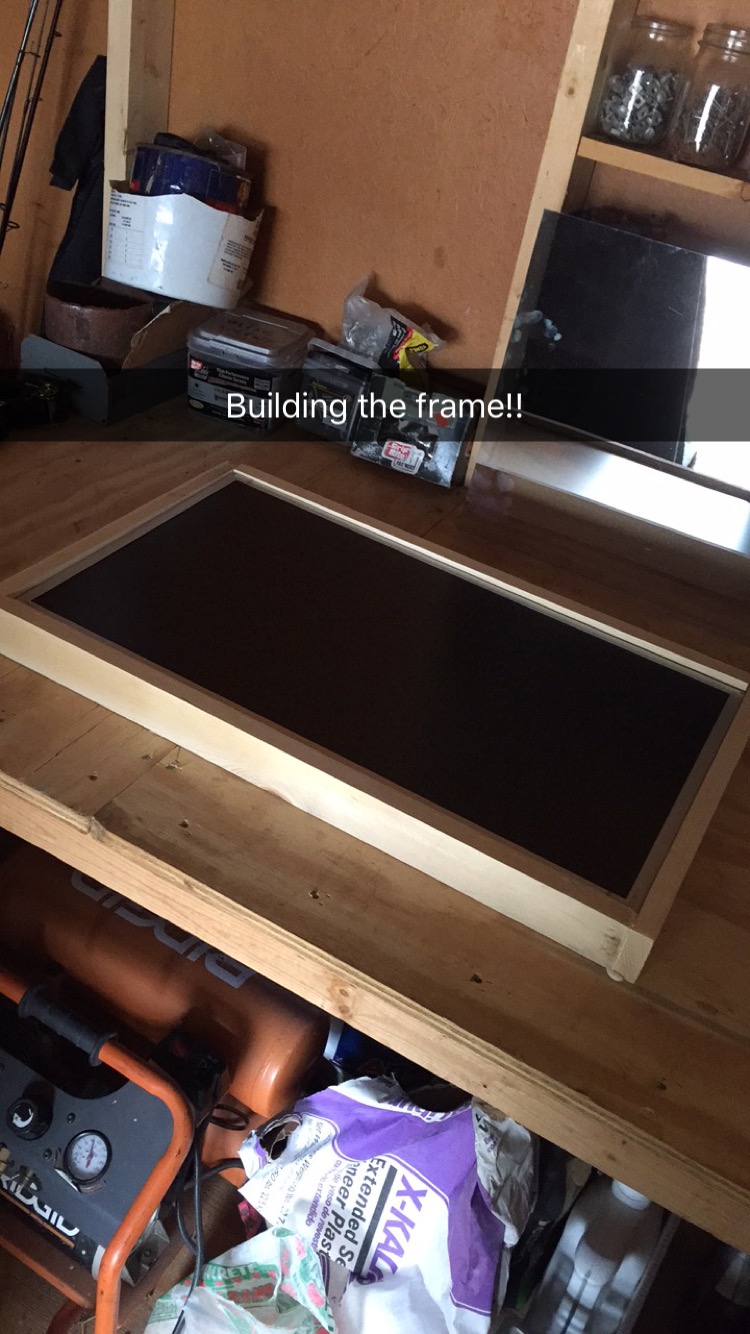
To make the back, I used some wooden two-by-fours. I cut four pieces, just large enough to fit snugly around the outside of the monitor. Using a nail gun and some wood glue, I attached these four pieces together, using the monitor as a guide for where to make the attachments. After this was done, it looked like this:
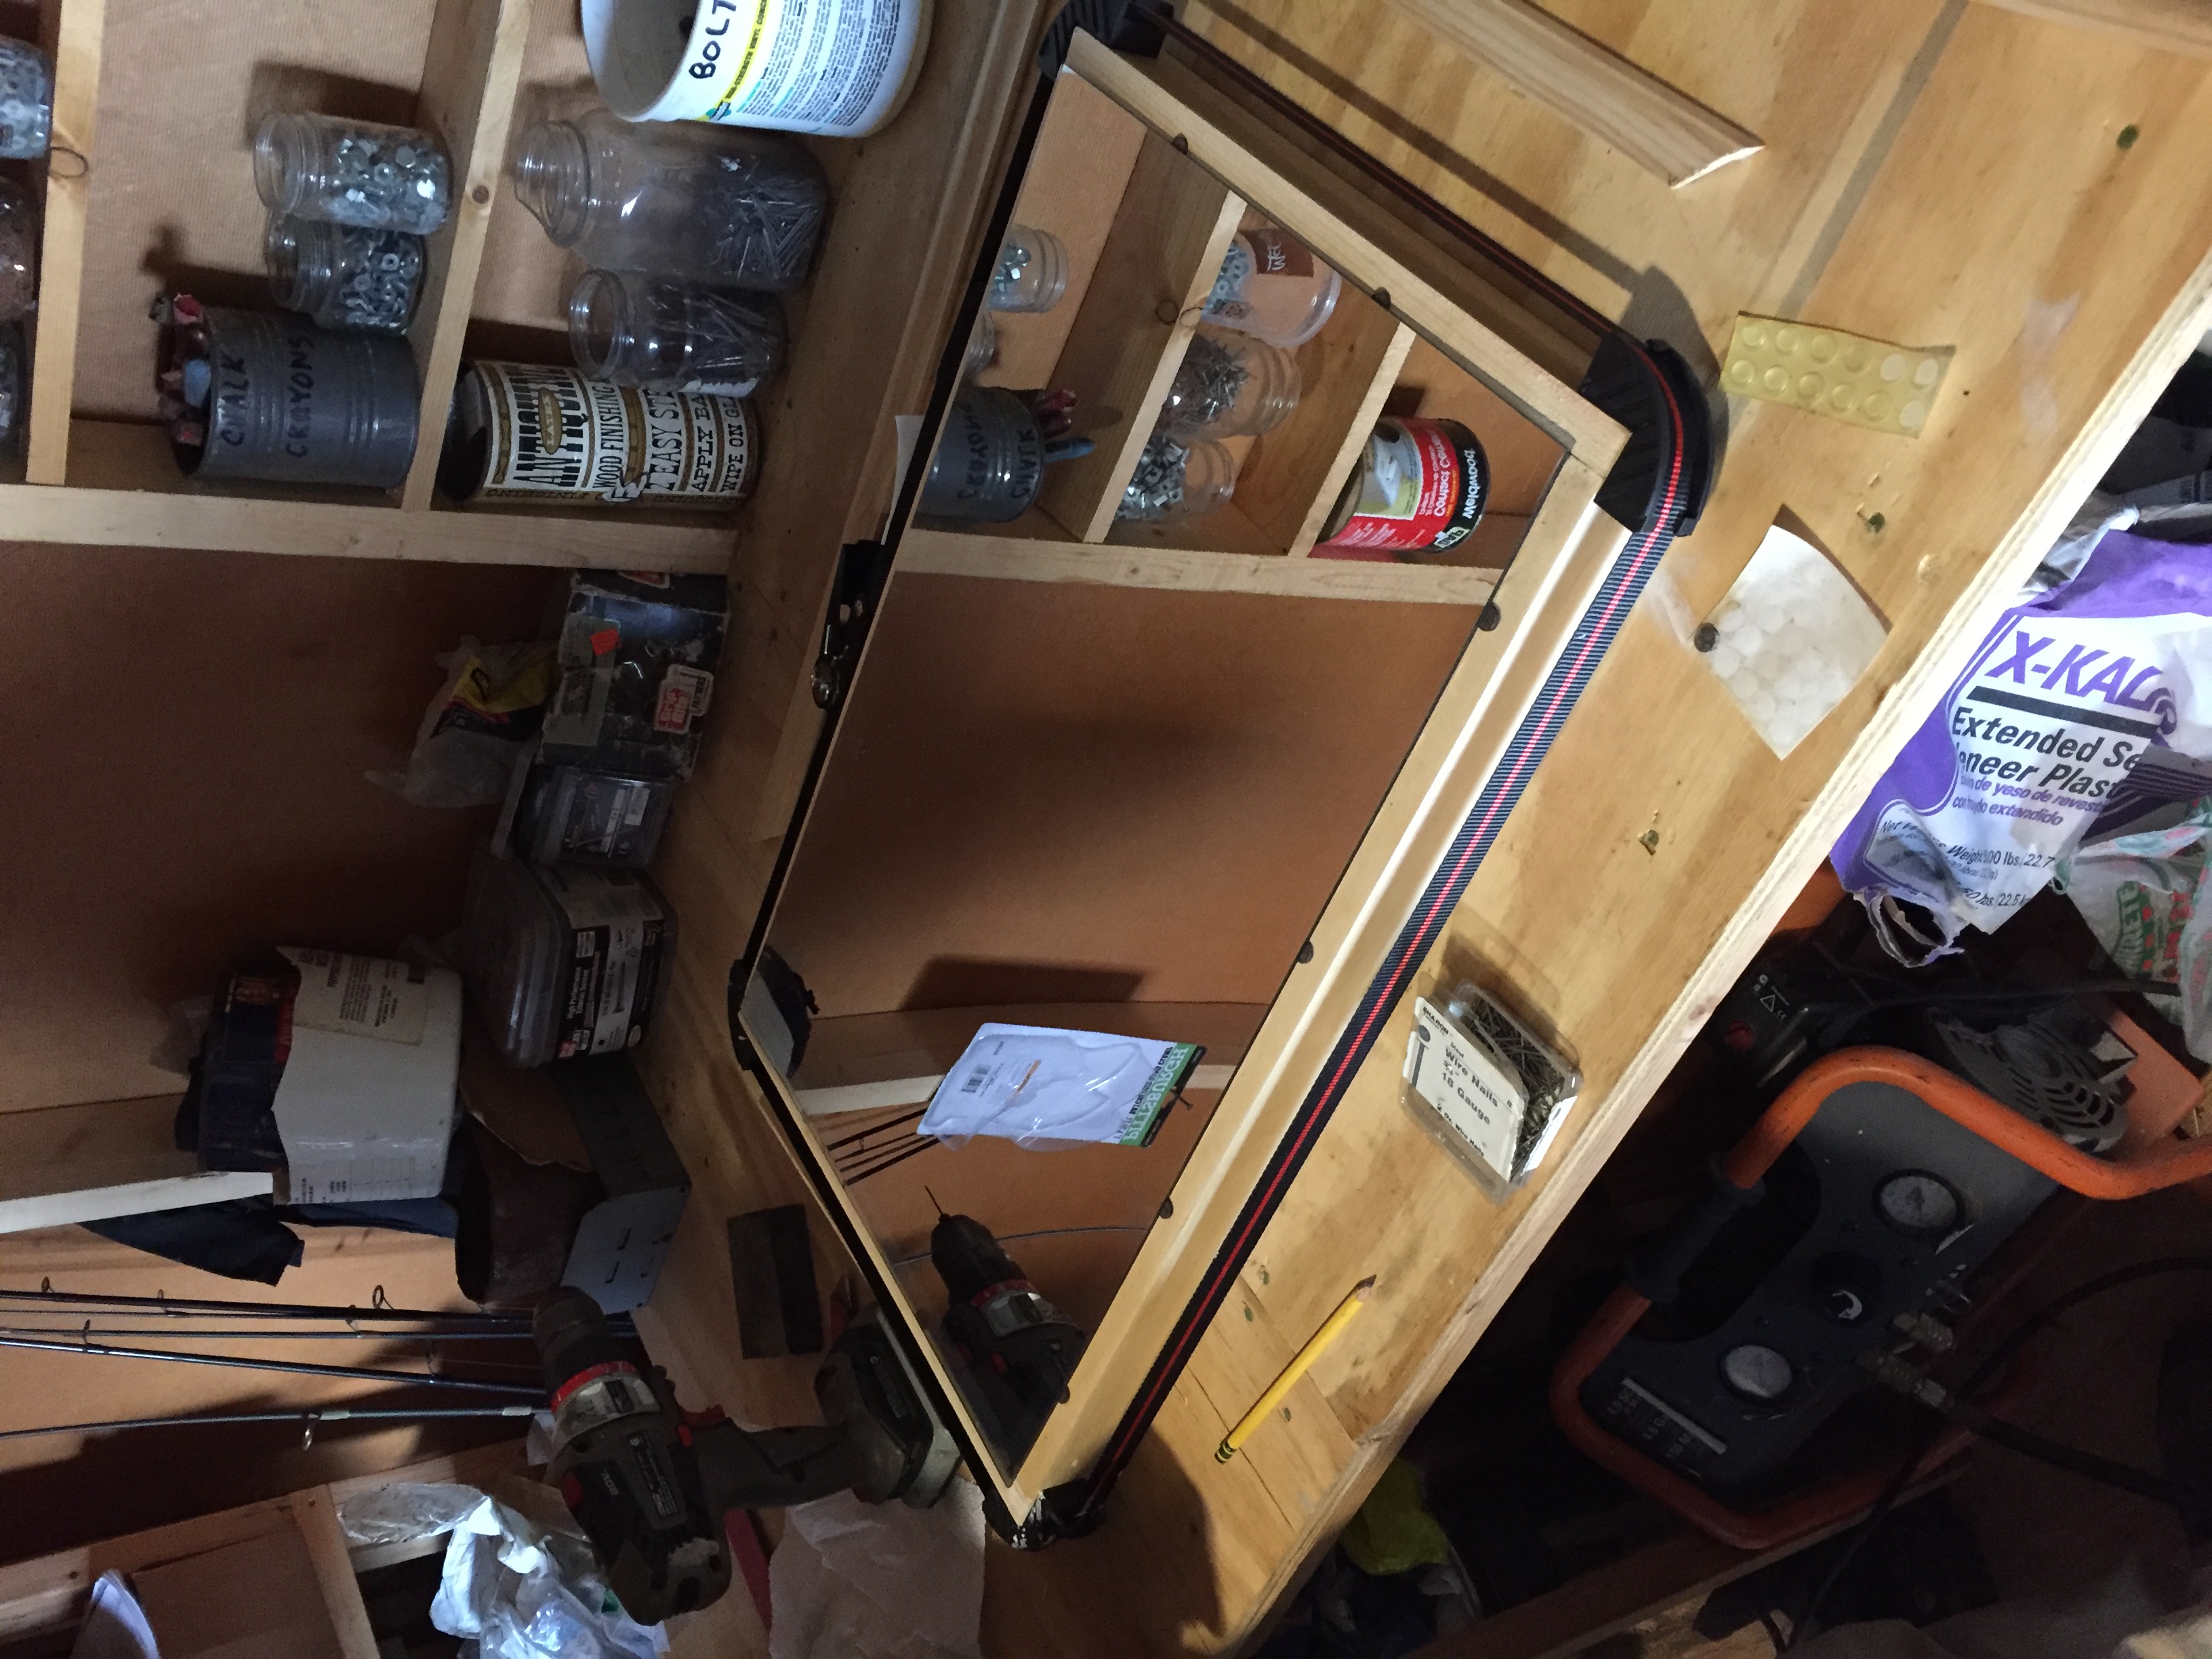
Using the ratcheting band clamp that I recommended earlier, I clamped the pieces together while they dried. I then attached some small, circular, felt stickers to the back of the mirror to fill in the gap between the base of the frame and the back of the trim. Here is an image of that:
I also recommend placing some bread nails around the perimeter of the mirror to prevent it from moving around. Be very careful with this step, however, because you are hammering very close to the fragile mirror.
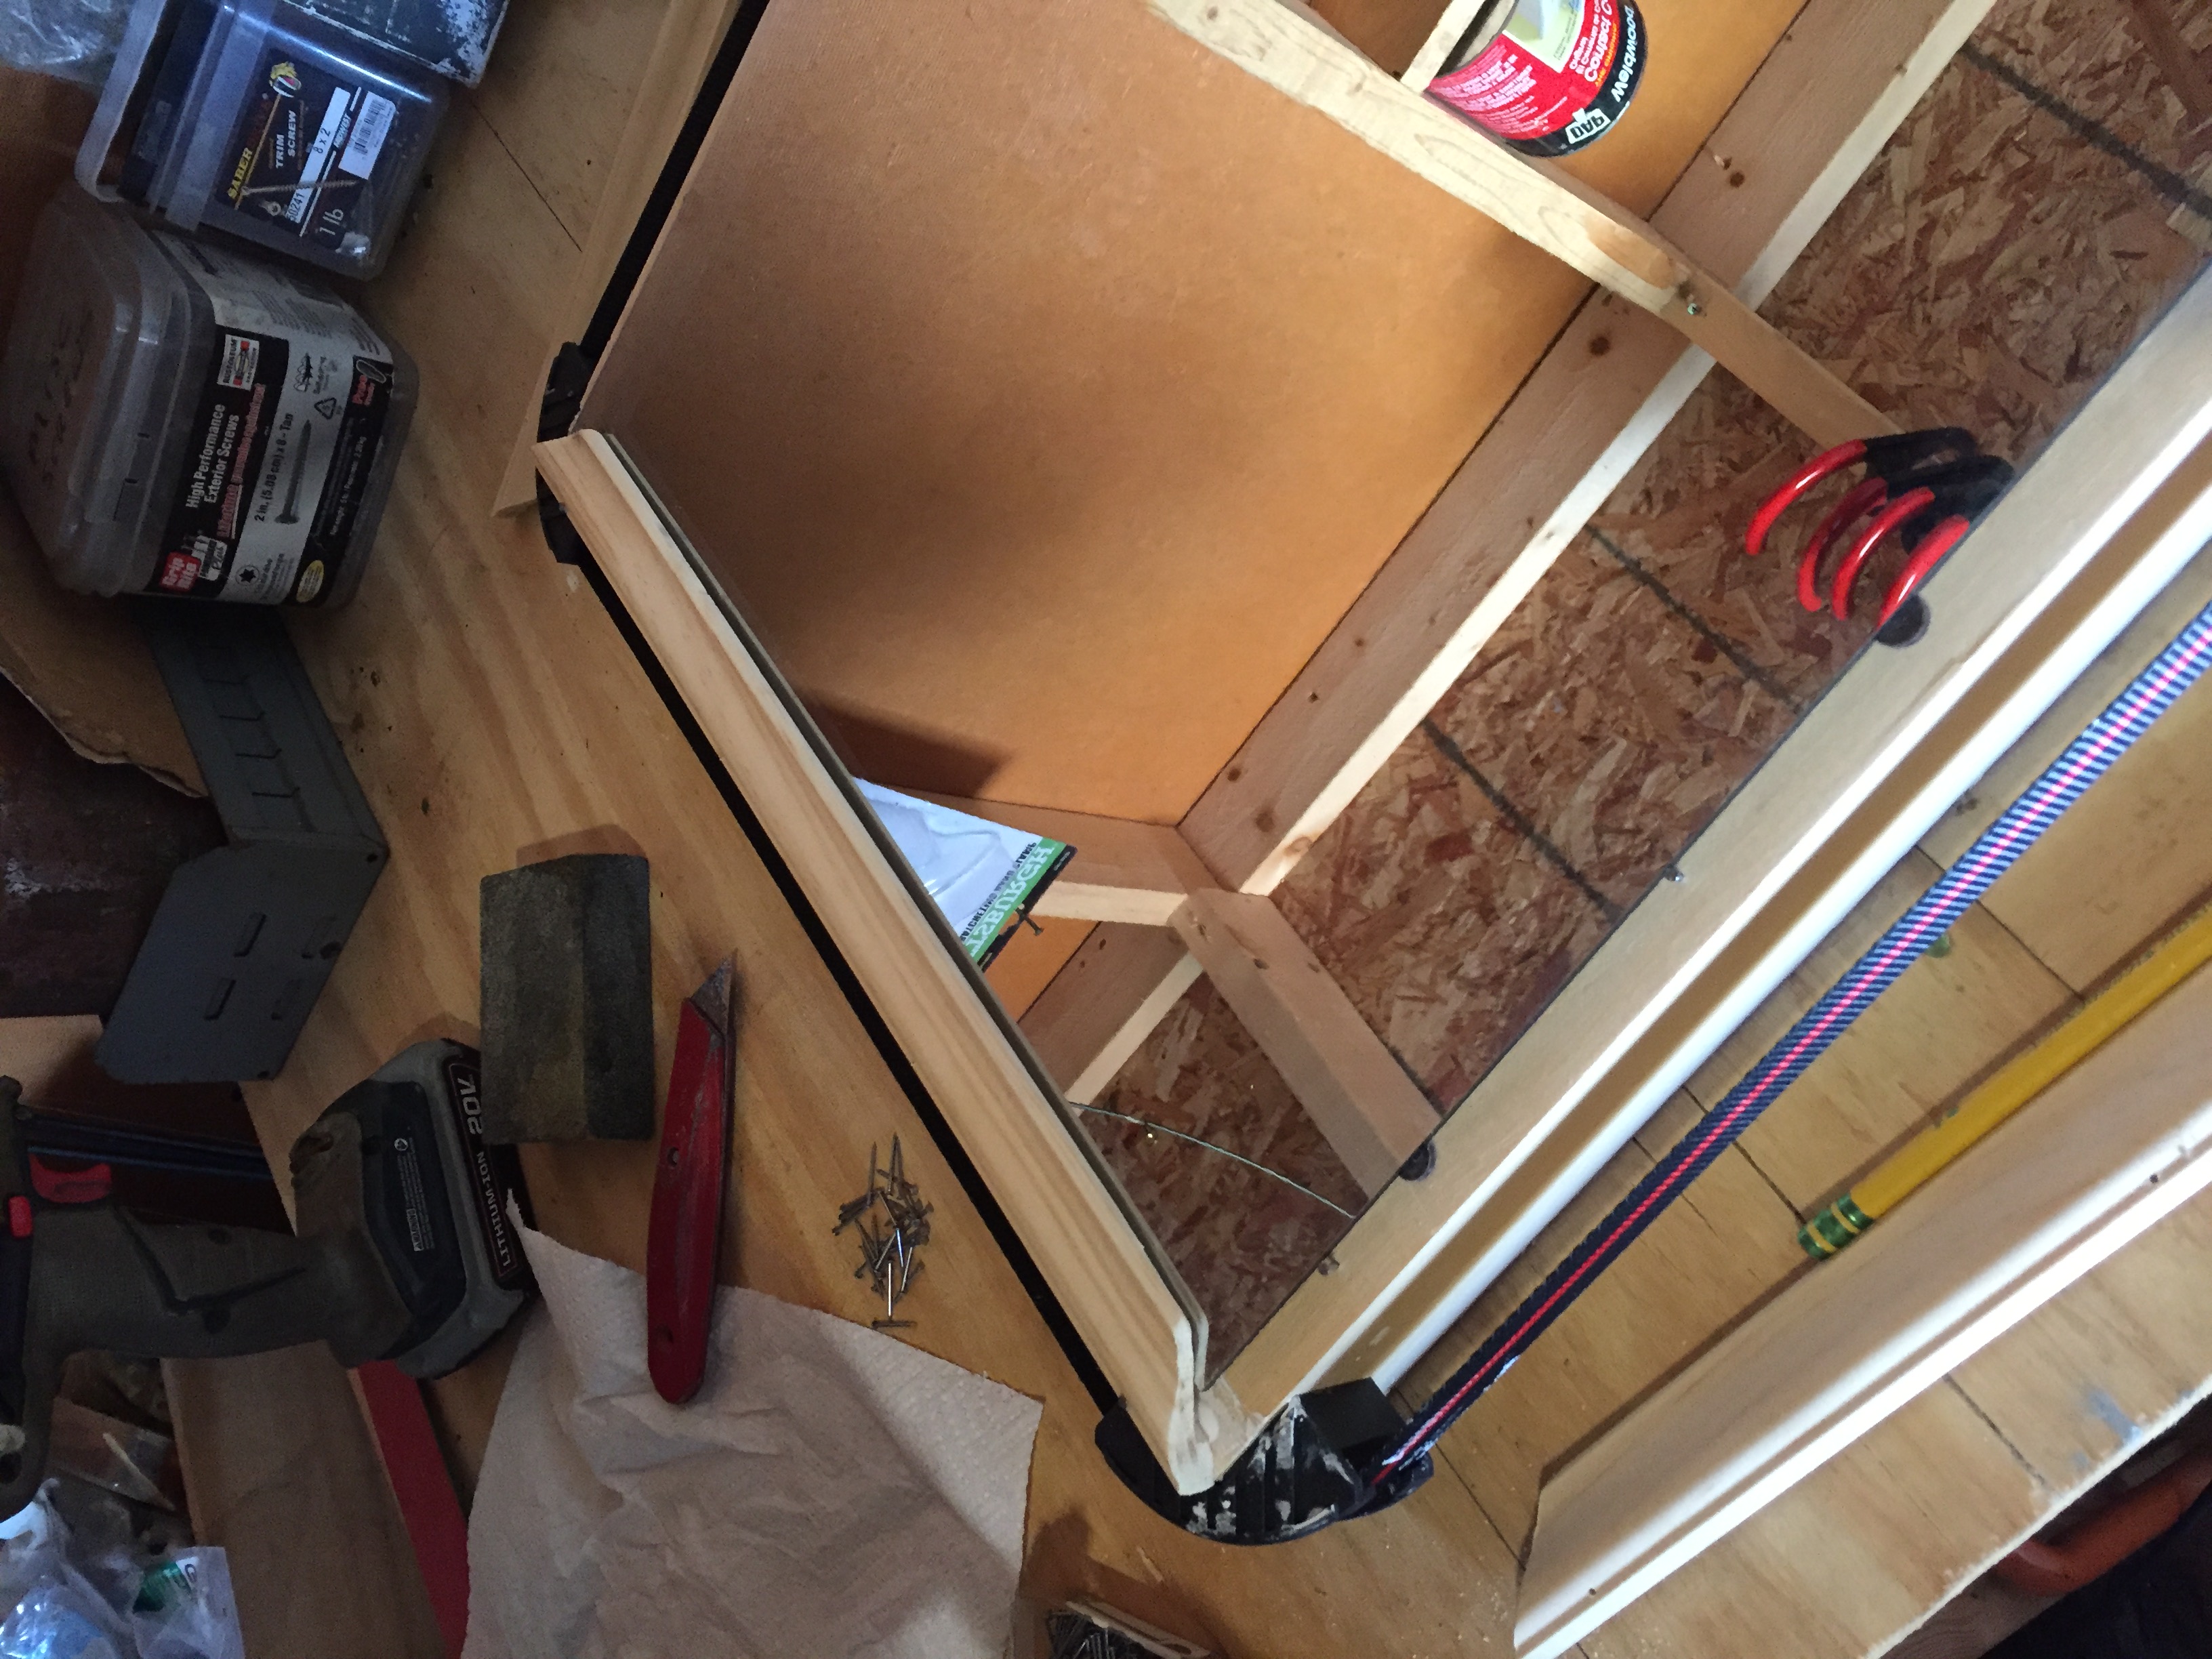
After cutting some pieces of trim to the proper size, making 45 degree angle cuts at the edges, and some sanding, I attached the trim to the supportive backing. The thick part of the trim should be glued/nailed to the backing, and the thin part of the mirror should rest on top of the edge of the mirror. I attached the trim by pre-drilling some small holes with a tiny drill bit, then gluing it to the backing and hammering bread nails into the pre-drilled holes. This was sufficient to hold the trim in place. Here is an image of this process:
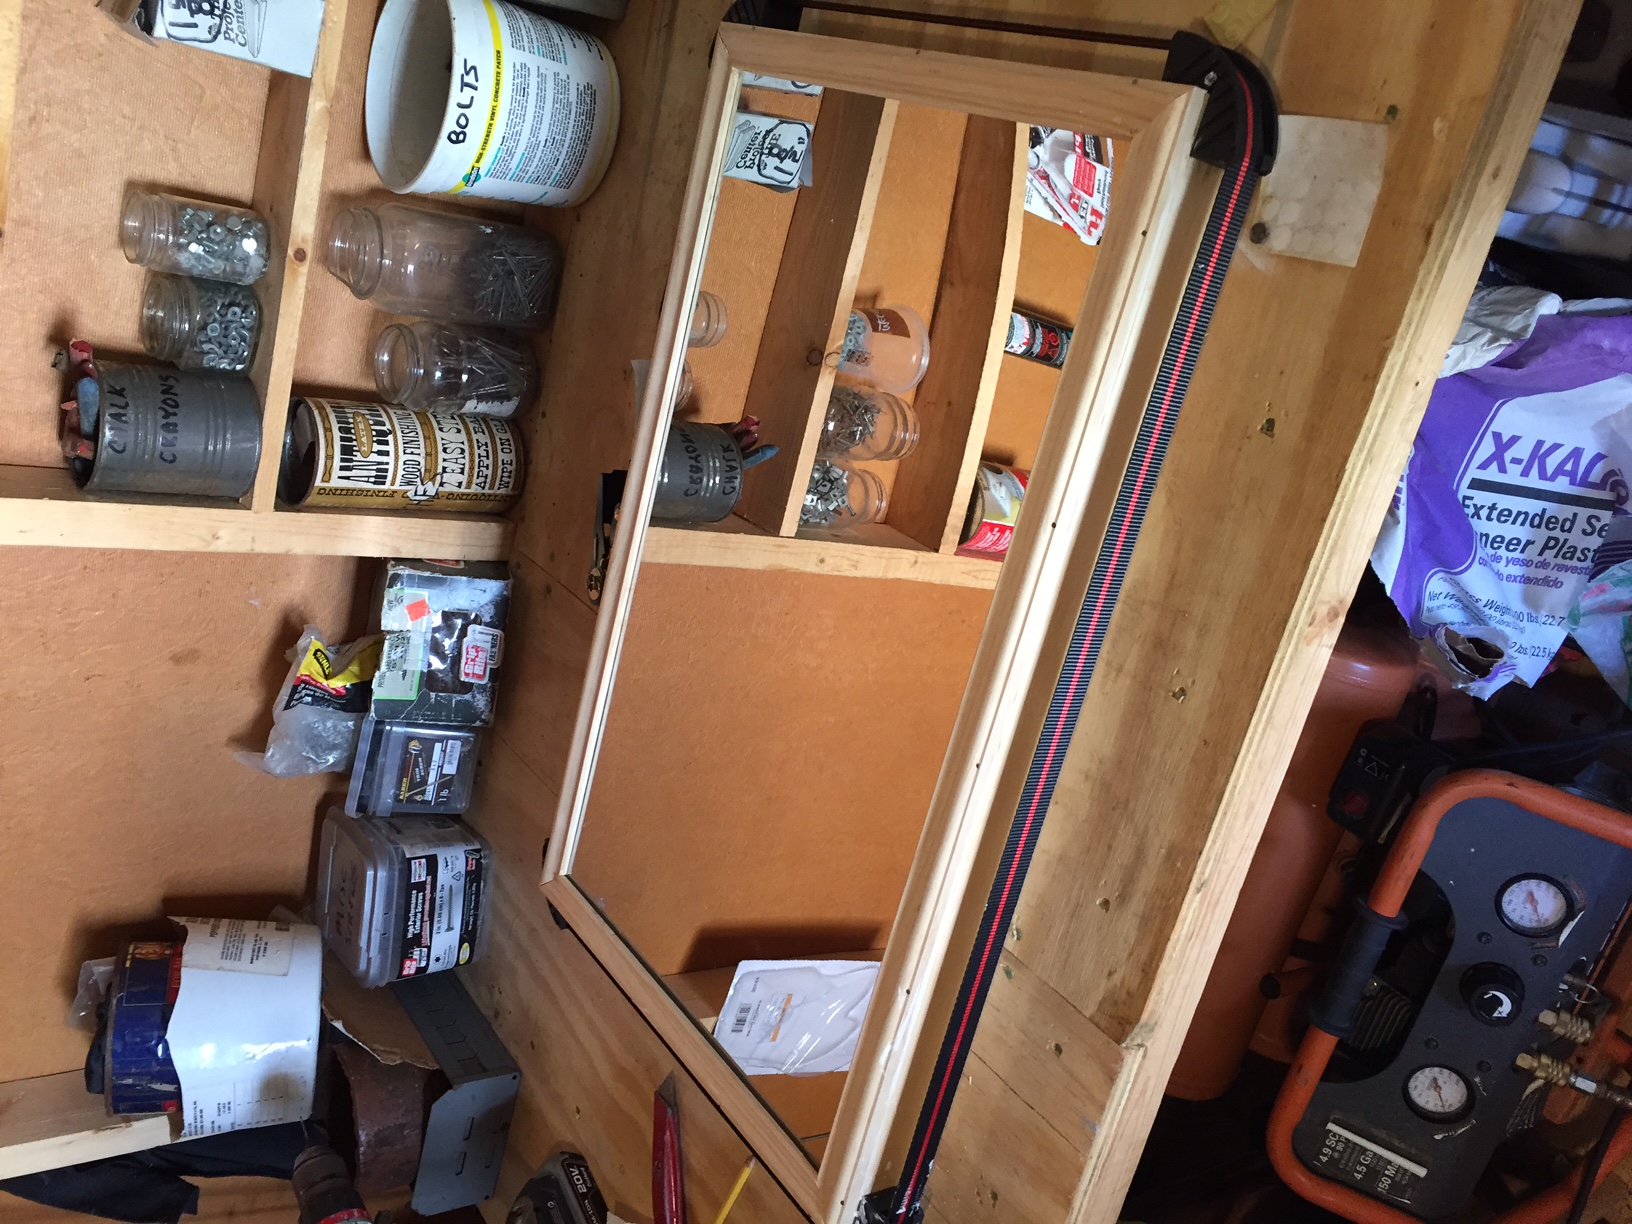
After all four pieces of trim were attached, it looked like this:
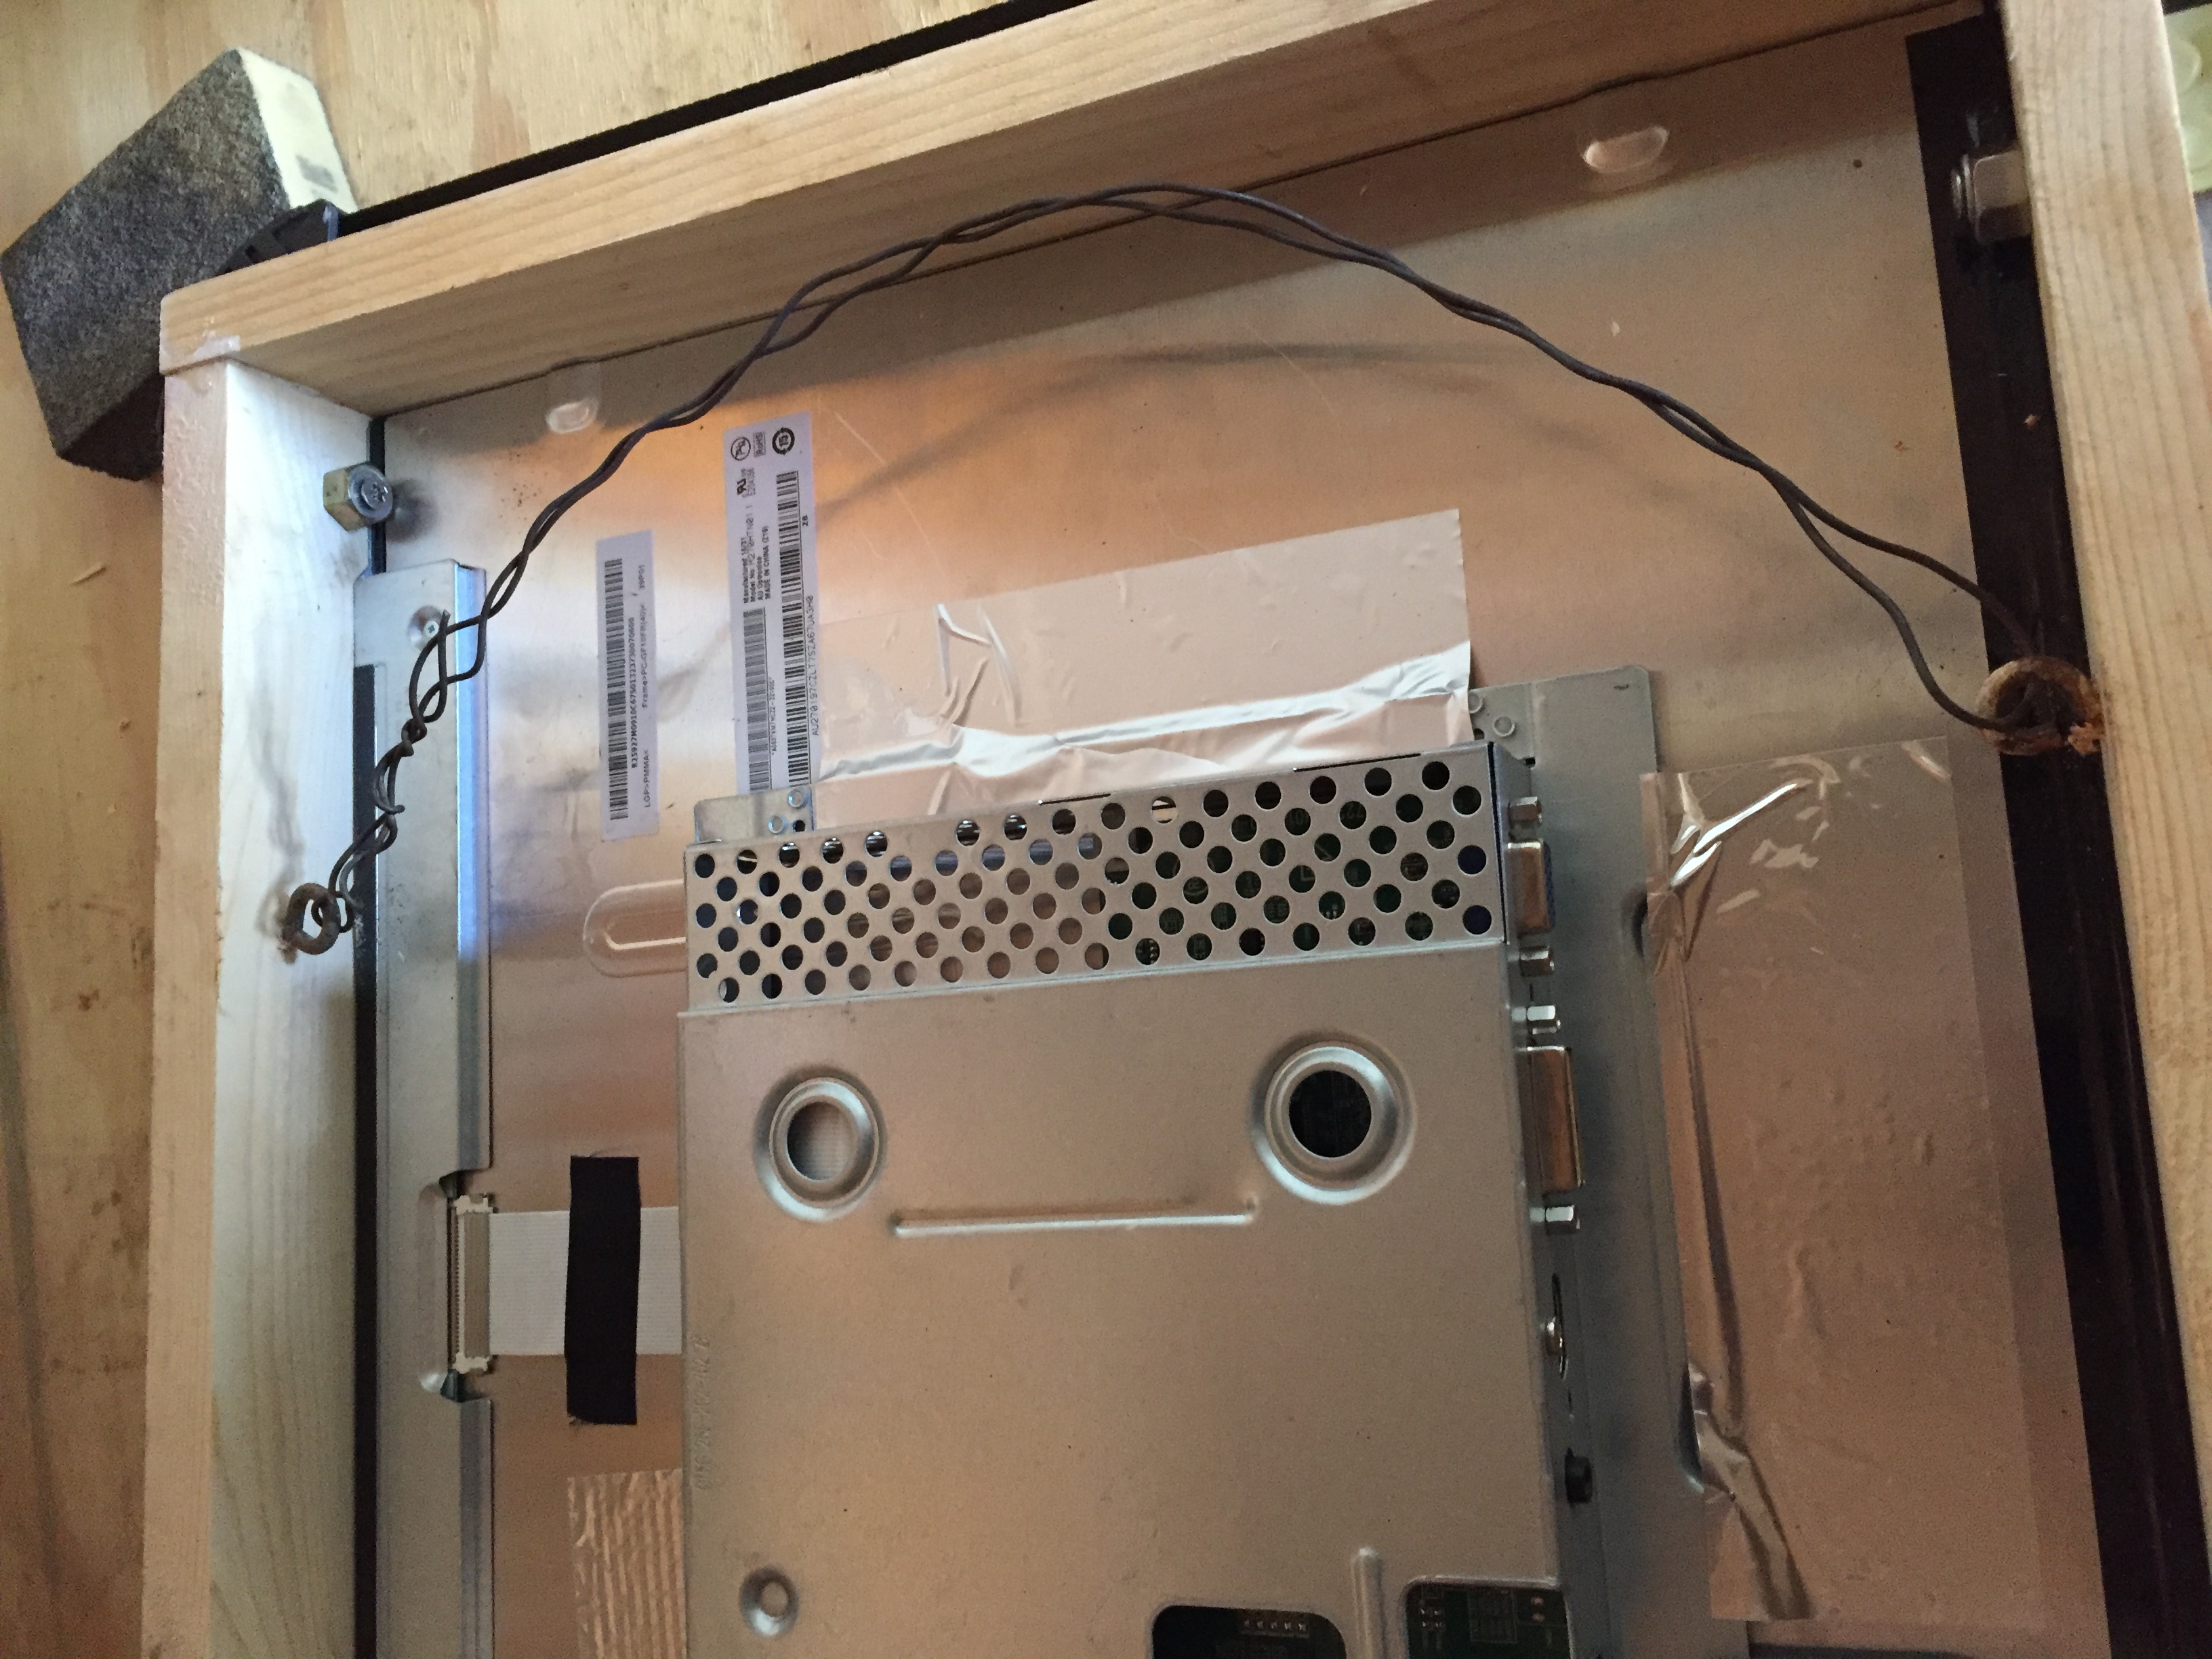
In order to hang the mirror, I attached some steel wire to the back using a pair of eye hooks. This was fairly straightforward - simply screw the eye hooks in place and wrap the wire around them. Here is an image of that:
Unless you're a master craftsman, your measurements and forty-five degree cuts will likely be slightly off like mine were. After gluing/nailing the trim in place, there were some gaps between the pieces that I filled in with some wood filler.
I did some wire management in the back of the mirror to hold everything together. How you do this is up to you, but here is an image of mine:

Conclusion
That's all there is to it. If you have any questions about this project, feel free to contact me or comment below. Happy building!